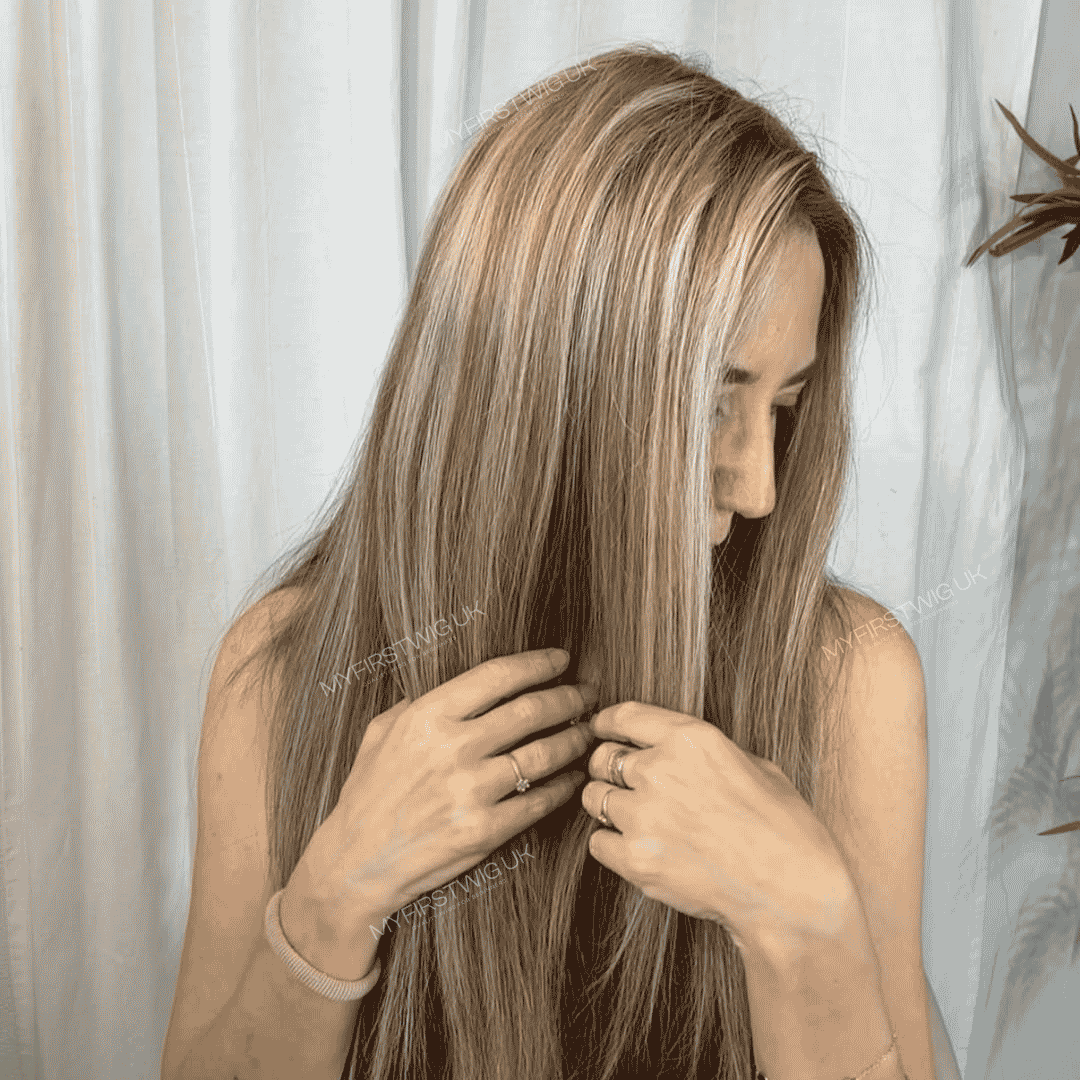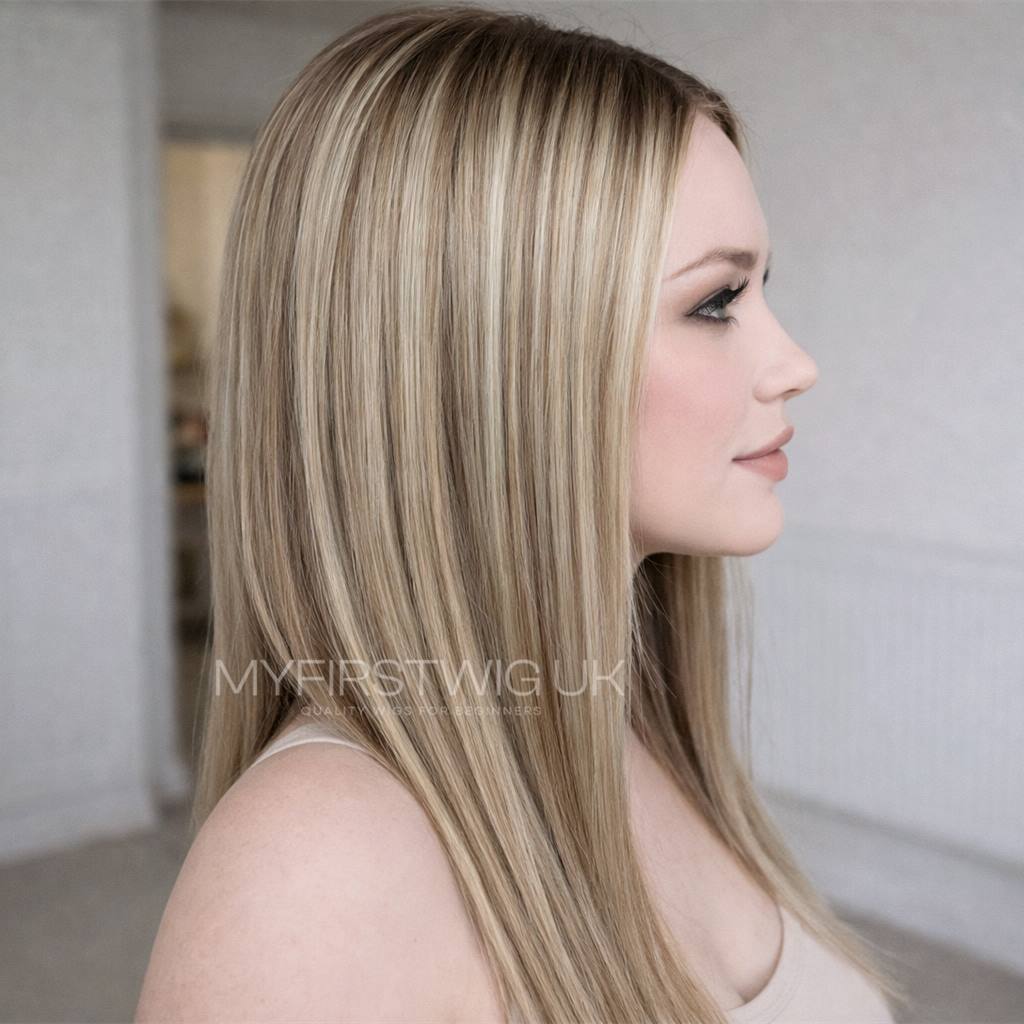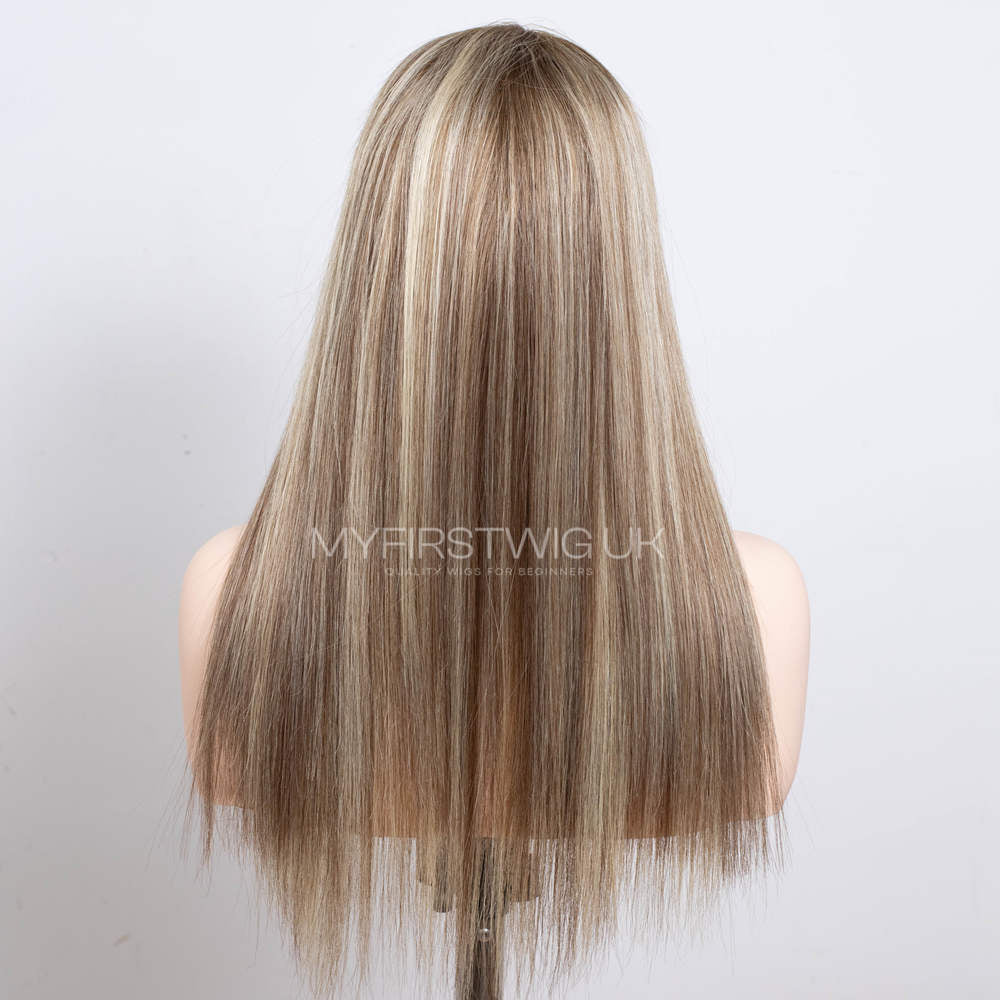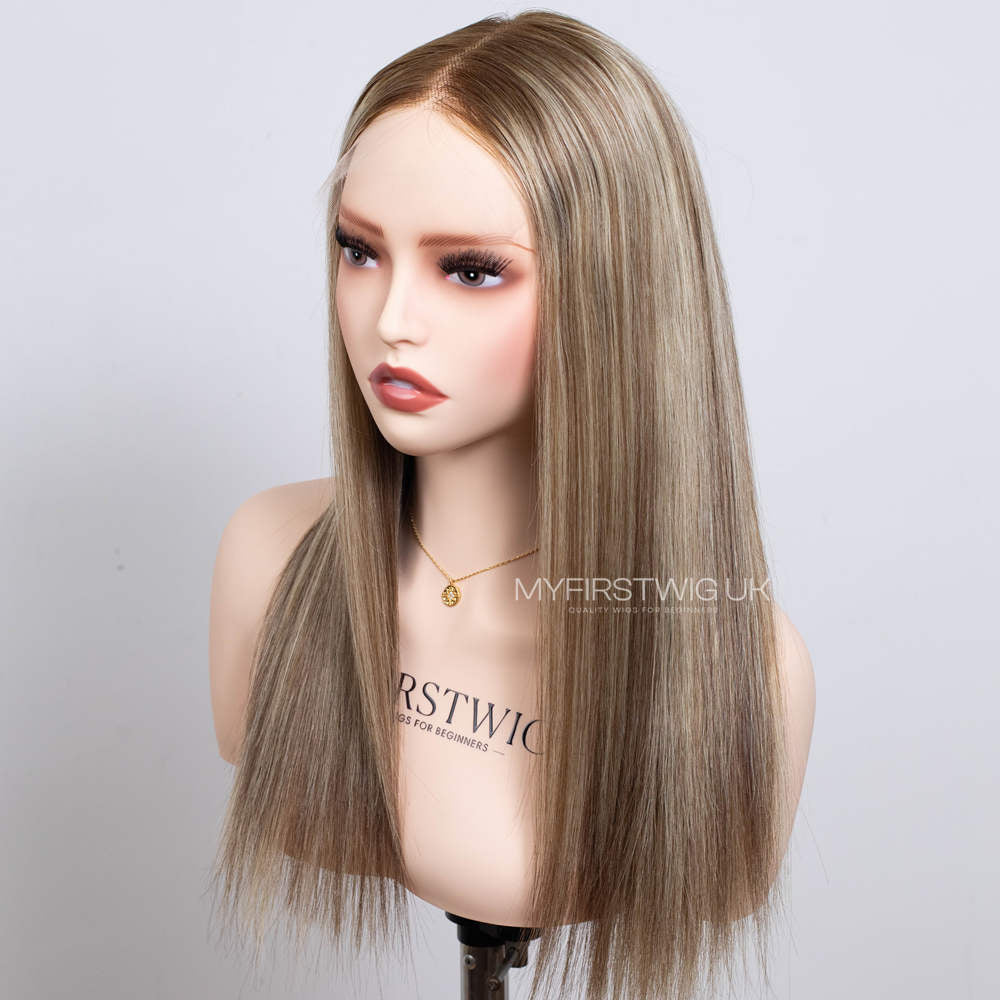

This guide is dedicated to helping you get the most out of your purchase. We'll walk you through the simple steps of applying and styling each wig so you can achieve a flawless look in minutes.
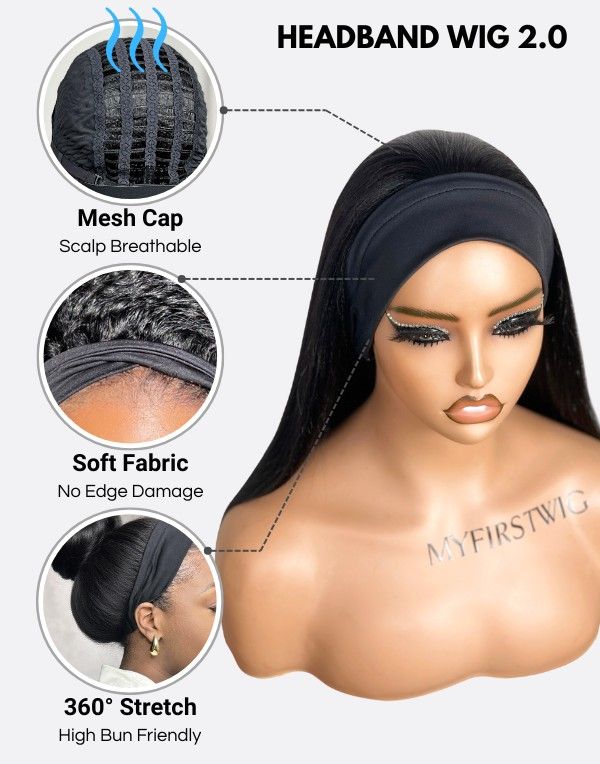
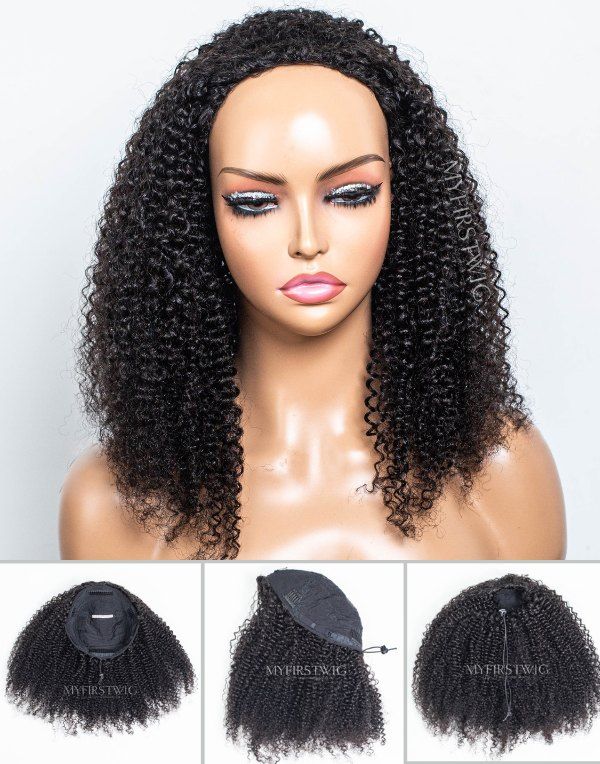
How to Wear a Headband Wig
Step 1 – Natural Hair Preparation
- Start with clean, dry hair. If your hair is longer or thicker, consider braiding it flat or creating two low buns to minimise bulk.
- Use a wig cap if you wish, though it's optional — headband wigs are designed for easy, everyday wear.
Step 2 – Putting on the Wig & Fit
- Hold the headband wig by the strap and place it over your head.
- Position it at your natural hairline and pull it down over your ears.
- Adjust the band at the back for a secure, comfortable fit.
Step 3 – Final Touches
- Both leave-out and non-leave-out styles are available. If you'd like to blend your natural hair with the wig, leave a few edges out around your face and use edge control and a brush to style them.
- Accessorise with your favourite headband or scarf for added flair!
How to Wear a V-Part Wig
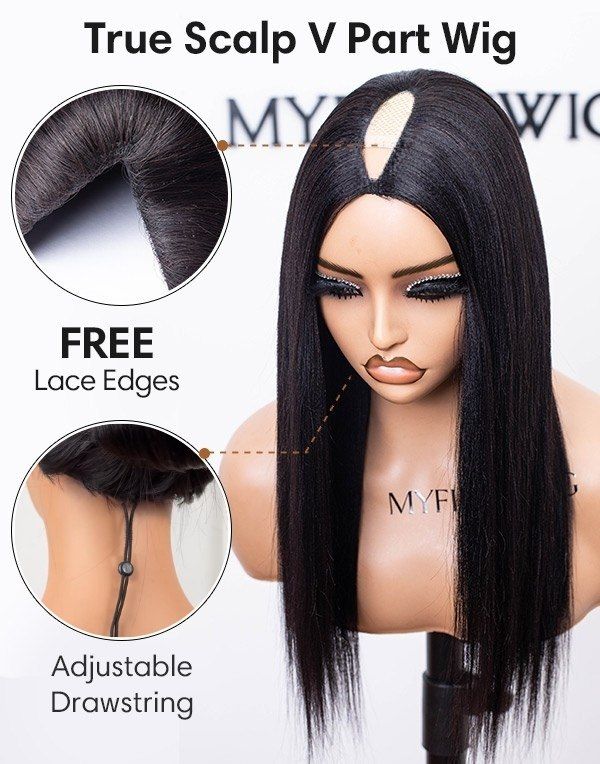
The V-Part Wig is designed to blend seamlessly with your natural hair, creating a believable “V” part that gives the illusion of scalp exposure and natural highlights.
Step 1 – Natural Hair Preparation
- Leave out a section of your own hair at the front. This section should be approximately 2–3 inches back from your hairline and wide enough to cover the area where the wig’s part will sit (typically from temple to temple).

2. Create a full, flat base for the wig by braiding the remaining hair.

Step 2 – Put On and Secure the Wig
- Place the V-Part Wig on your head, ensuring it sits behind the section of hair you left out.
- Secure the wig using the built-in combs (usually at the top and sides) by sliding them into your wig cap or braids. Adjust the straps at the back for a snug fit.

Step 3 – Create the Perfect Blend
- This is the key step! Gently flatten the hair you left out with a little edge control or mousse.
- Carefully drape this section of your natural hair over the wig’s part and the top of the wig cap. Allow your natural hair to cover the wig’s hairline, making the “V” part appear as though it’s coming from your own scalp.
- Use a comb to style the part precisely and blend your own hair with the wig’s hairline.
Step 4 – Final Styling
- You can use a flat iron or curling iron (on a low heat setting) to style your natural hair and the wig hair together, ensuring the textures match perfectly.
- Lightly mist with a holding spray to set the style and keep everything blended throughout the day.

How to Wear a Half Wig
The half wig is designed to blend seamlessly with your own hair, leaving a section out at the front for a completely natural-looking finish.
Step 1 – Natural Hair Preparation
- Use a comb to section out your own hair at the front — from approximately temple to temple. Clip or braid this section away securely.

2. Gather the remaining hair at the back. For the flattest base, braid it close to your scalp or twist and pin it flat against your head. A low, flat ponytail or bun also works perfectly.

Step 2 – Position and Secure the Half Wig
- Place the half wig onto your head, setting its front edge directly behind the section of your own hair you left out.
- Ensure the comb attachments are facing downwards to grip your hair beneath. Fasten the adjustable straps at the back for a snug fit, then press the built-in combs firmly into your base hair to lock everything in place.
Step 3 – Blend for a Seamless Finish
- Gently release the front section of your hair over the wig’s edge. Using your fingers or a comb, blend your own hair with the wig’s hair.
- Style this blended section as desired — you can curl it, straighten it, or leave it as is to match the wig’s texture.
We hope this guide empowers you to wear your new wig with confidence. Whether you choose a headband wig, V-part, or half wig, each style offers a quick and beautiful way to switch up your look. Happy styling!
View More Hairstyles
Glueless Headband Wig SHOP NOW ▶ |
Glueless V Part Wig SHOP NOW ▶ |
Glueless Half Wig SHOP NOW ▶ |