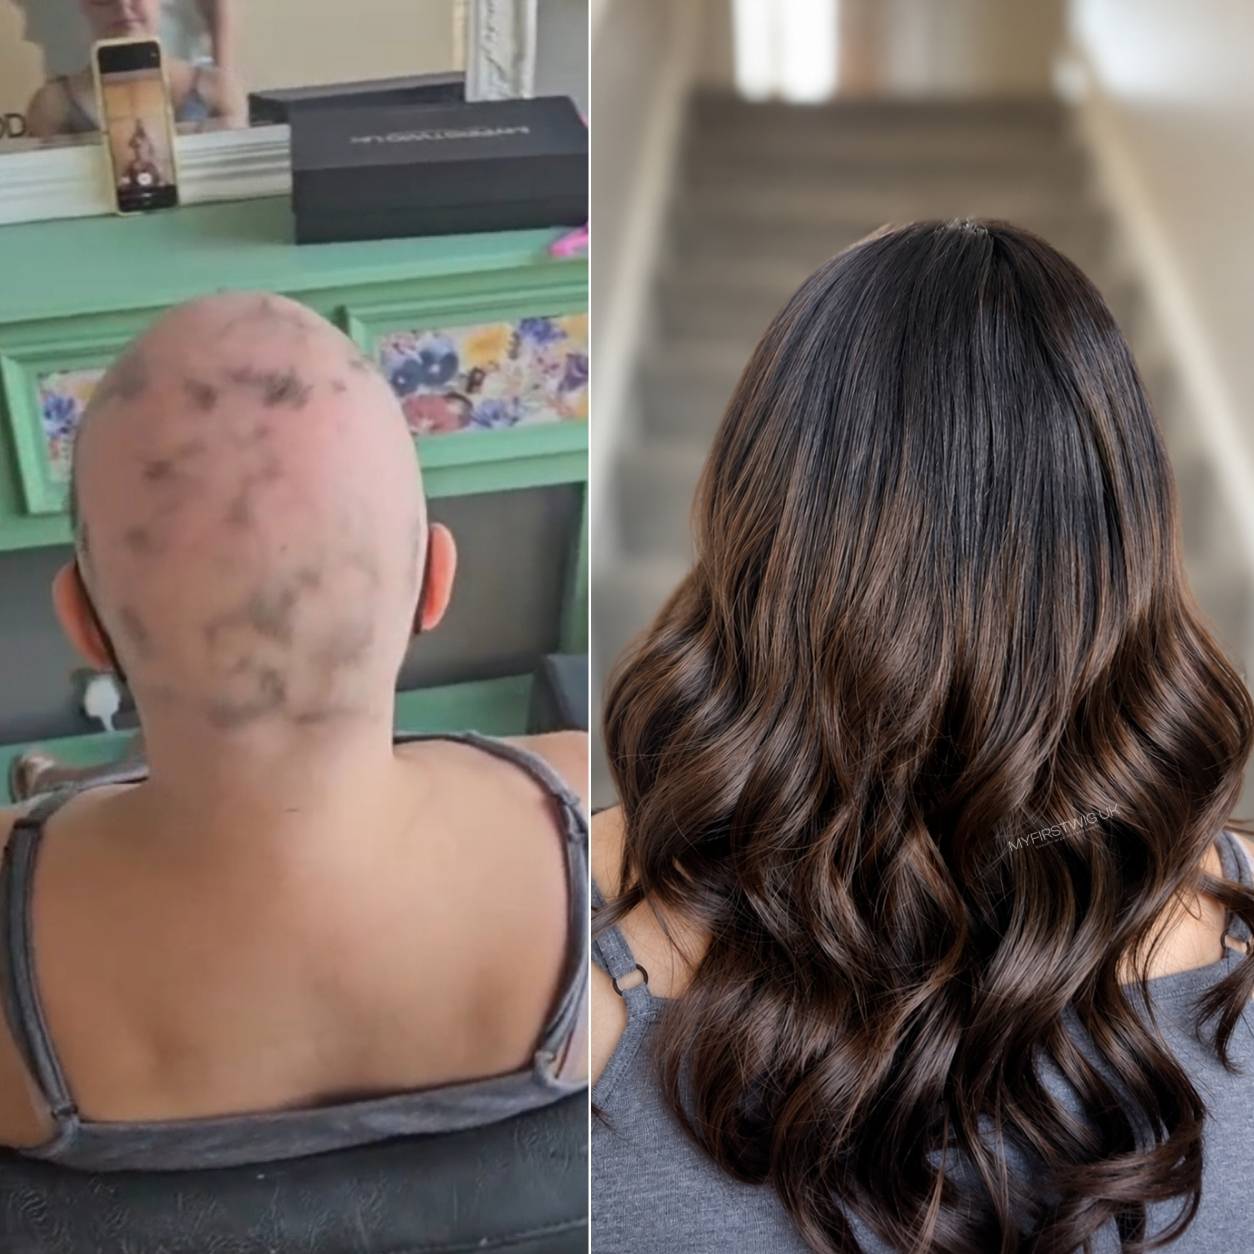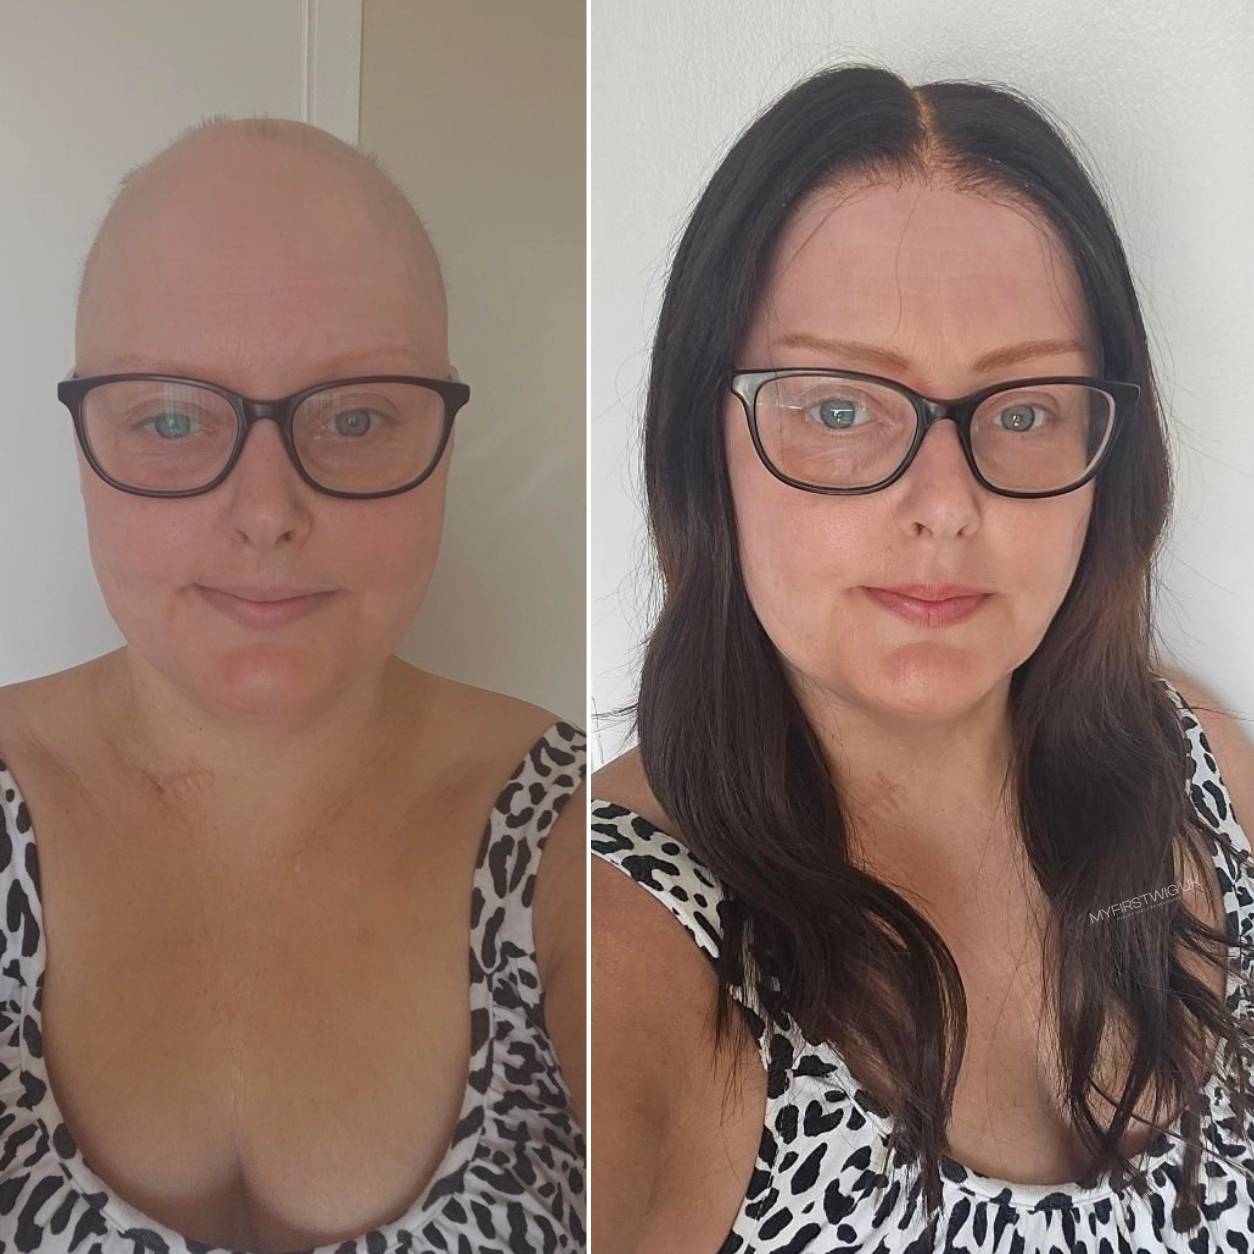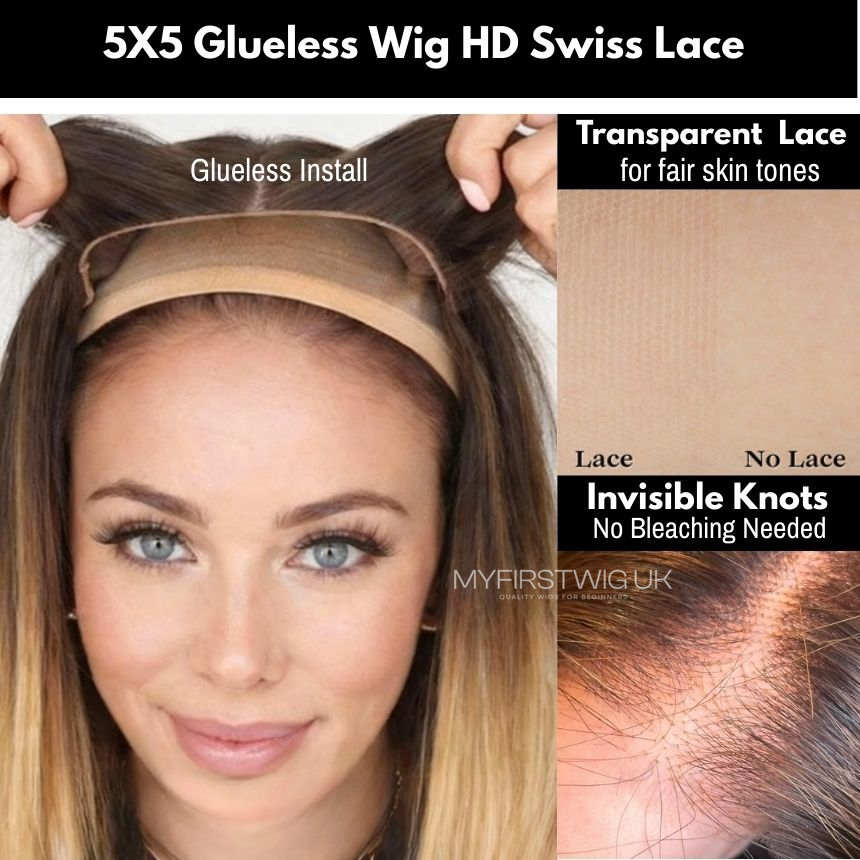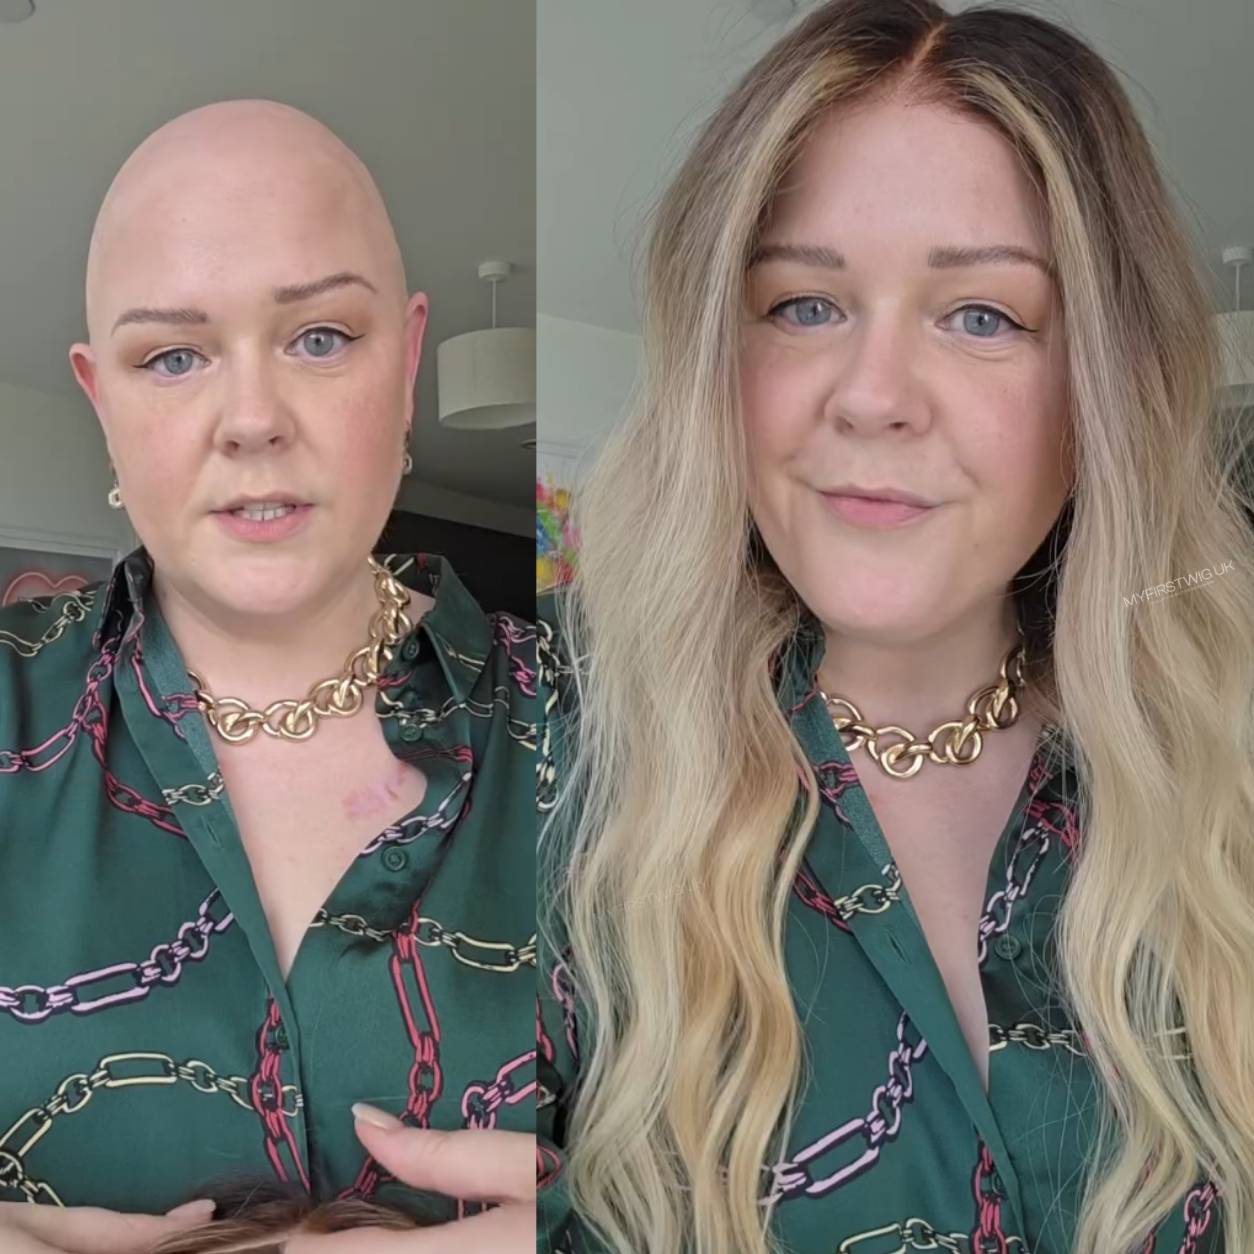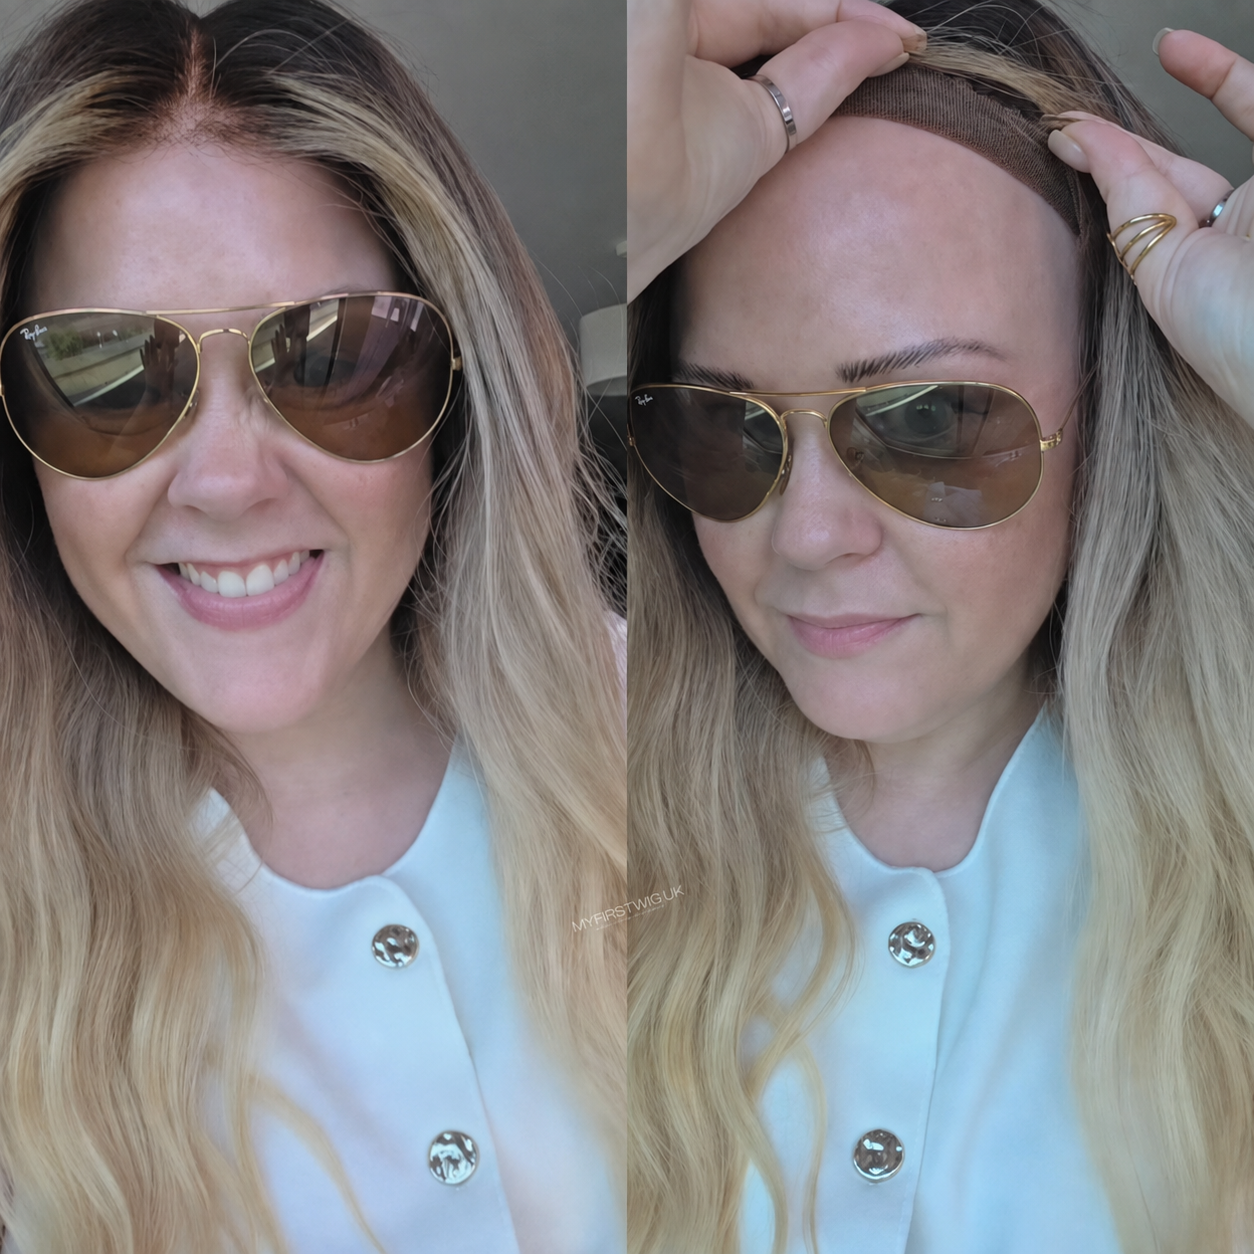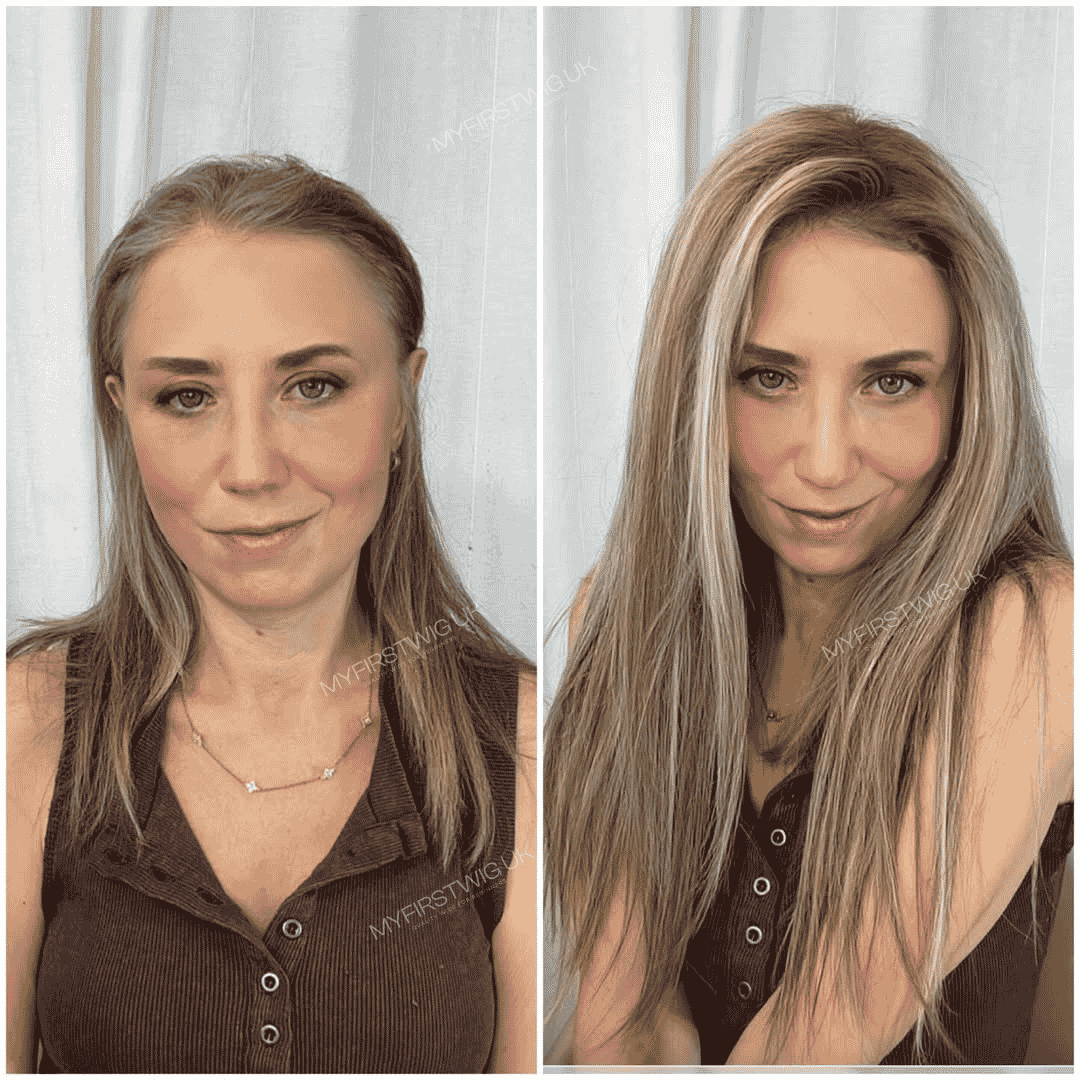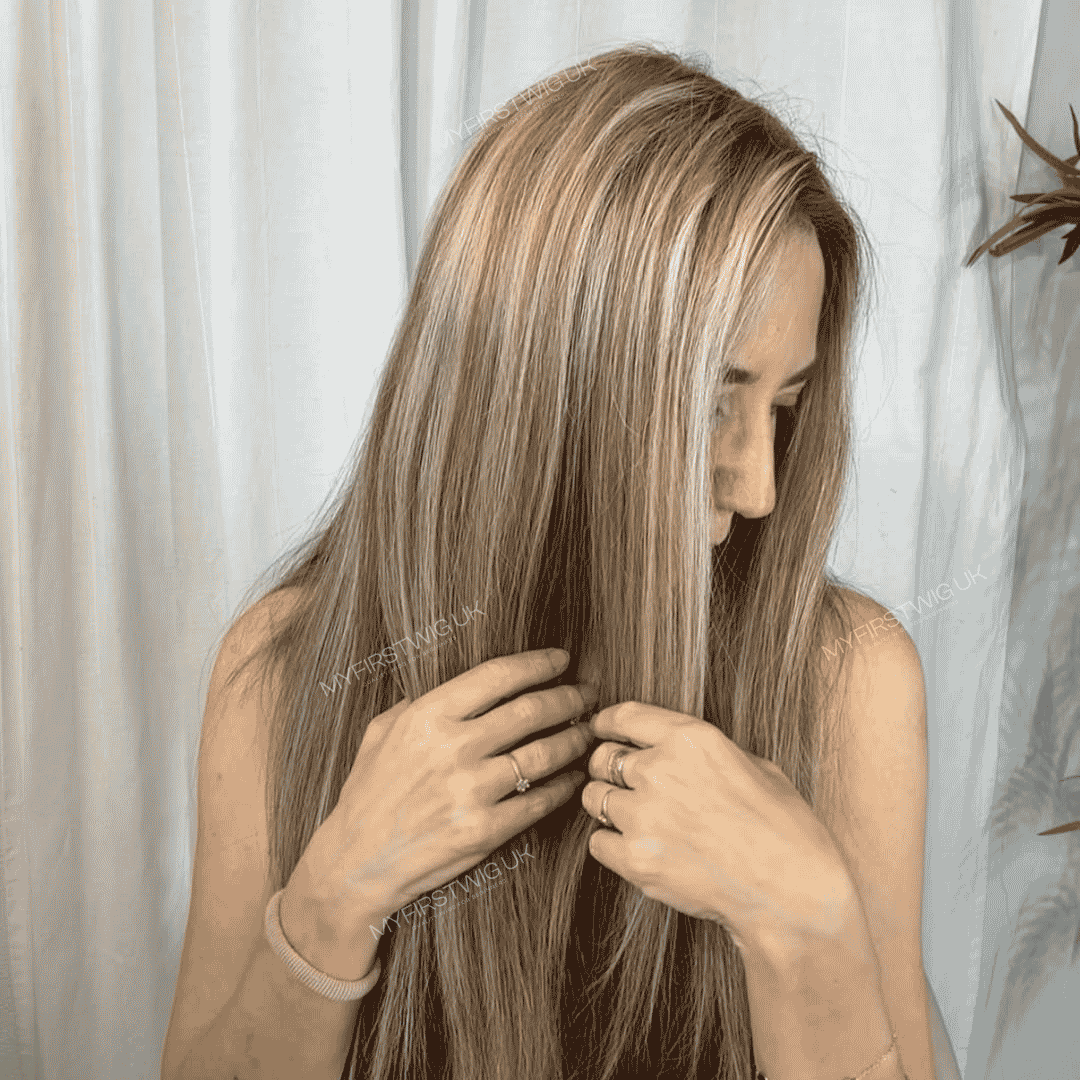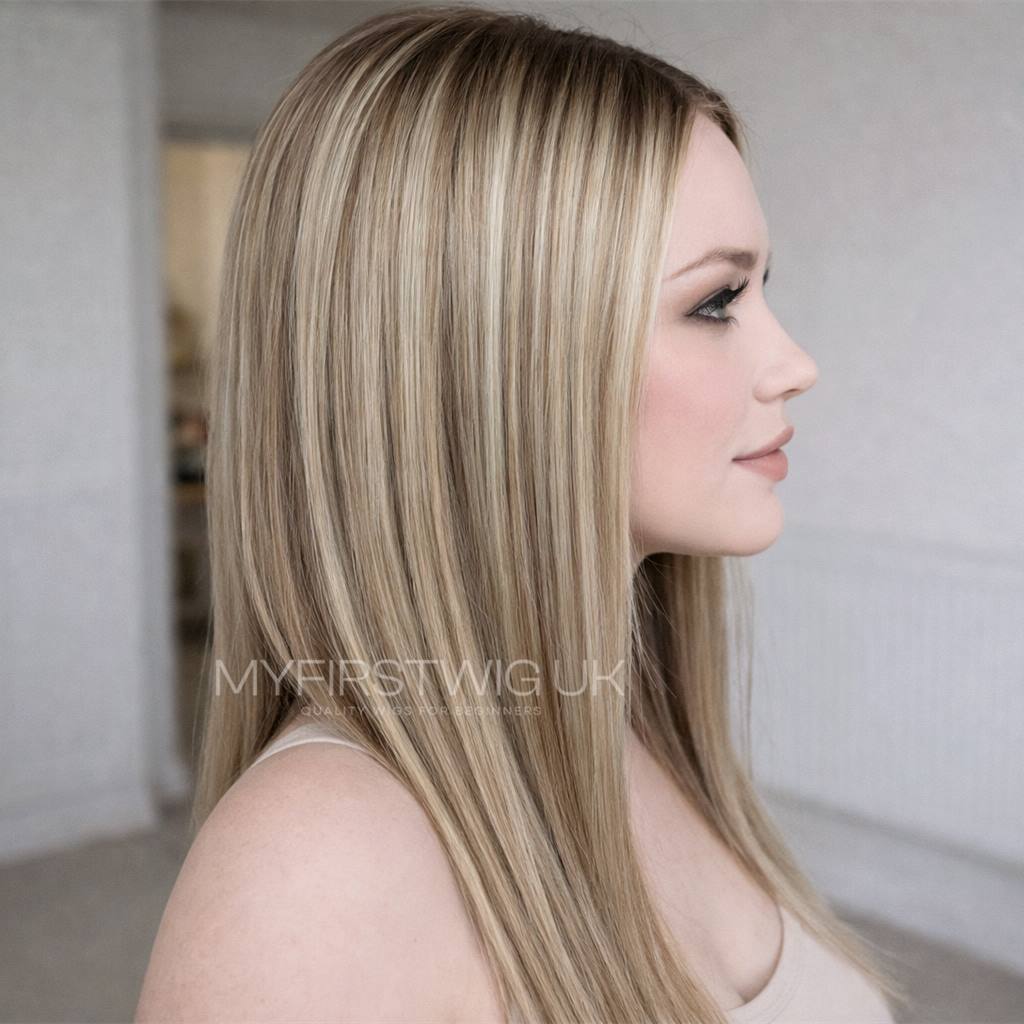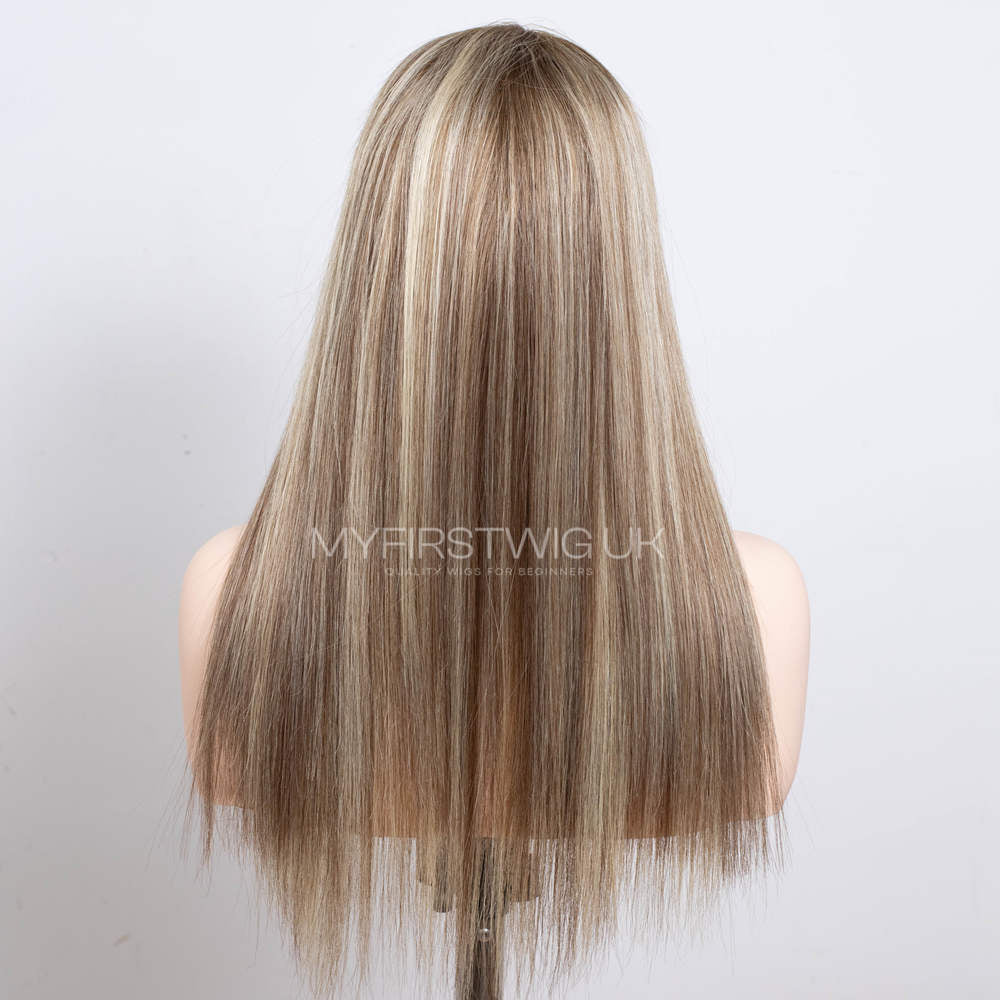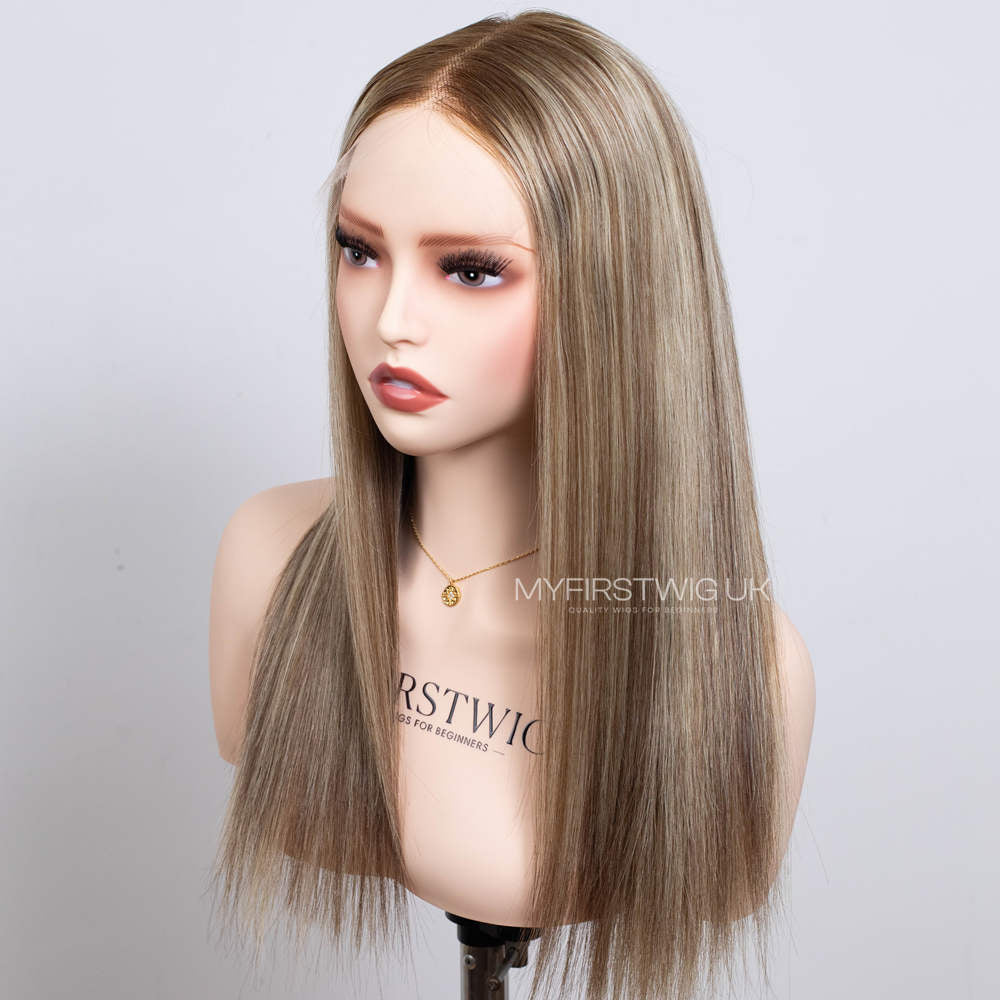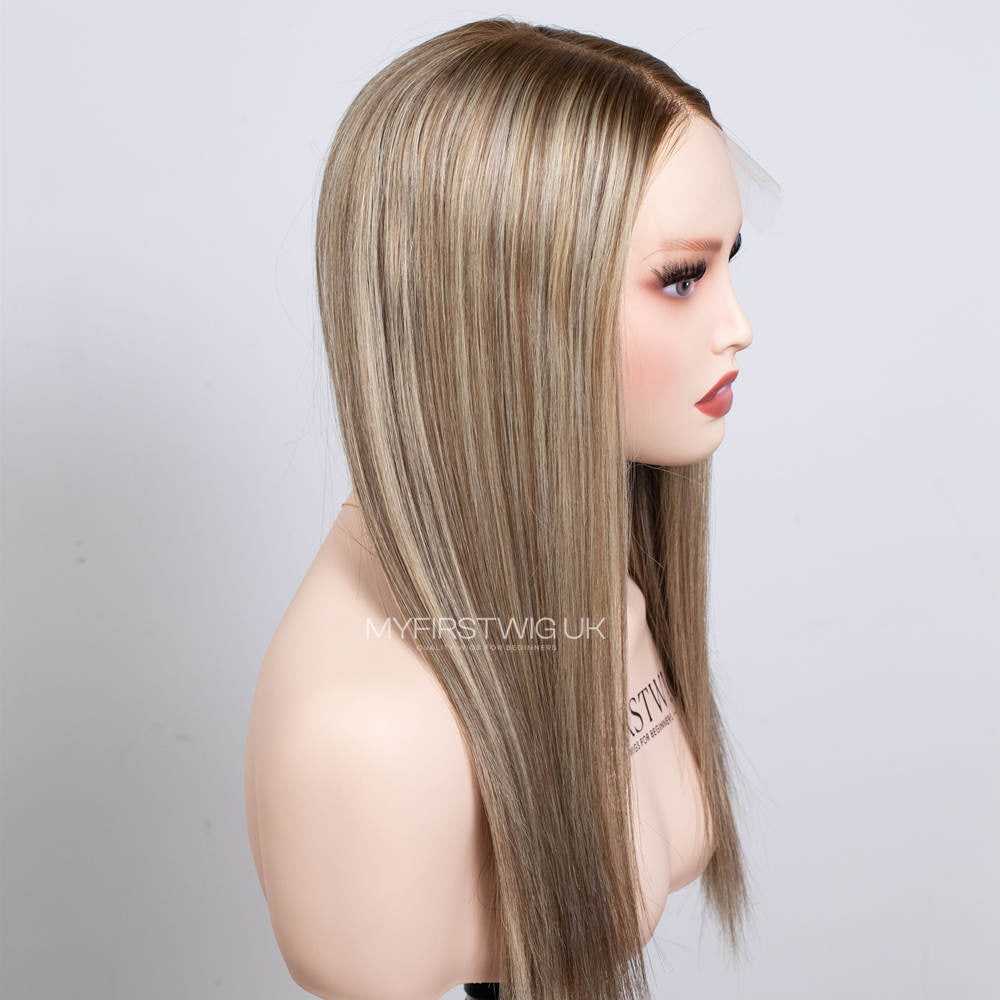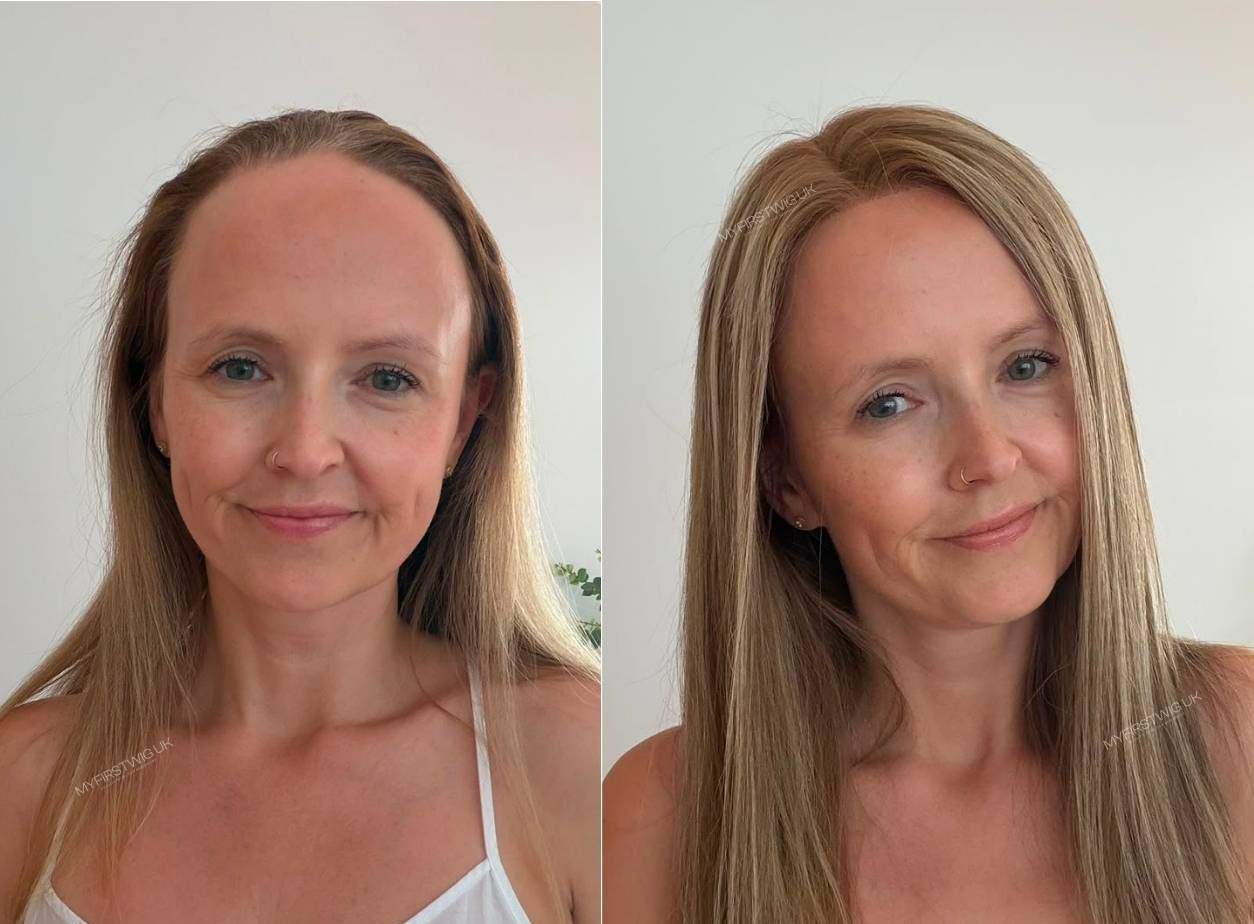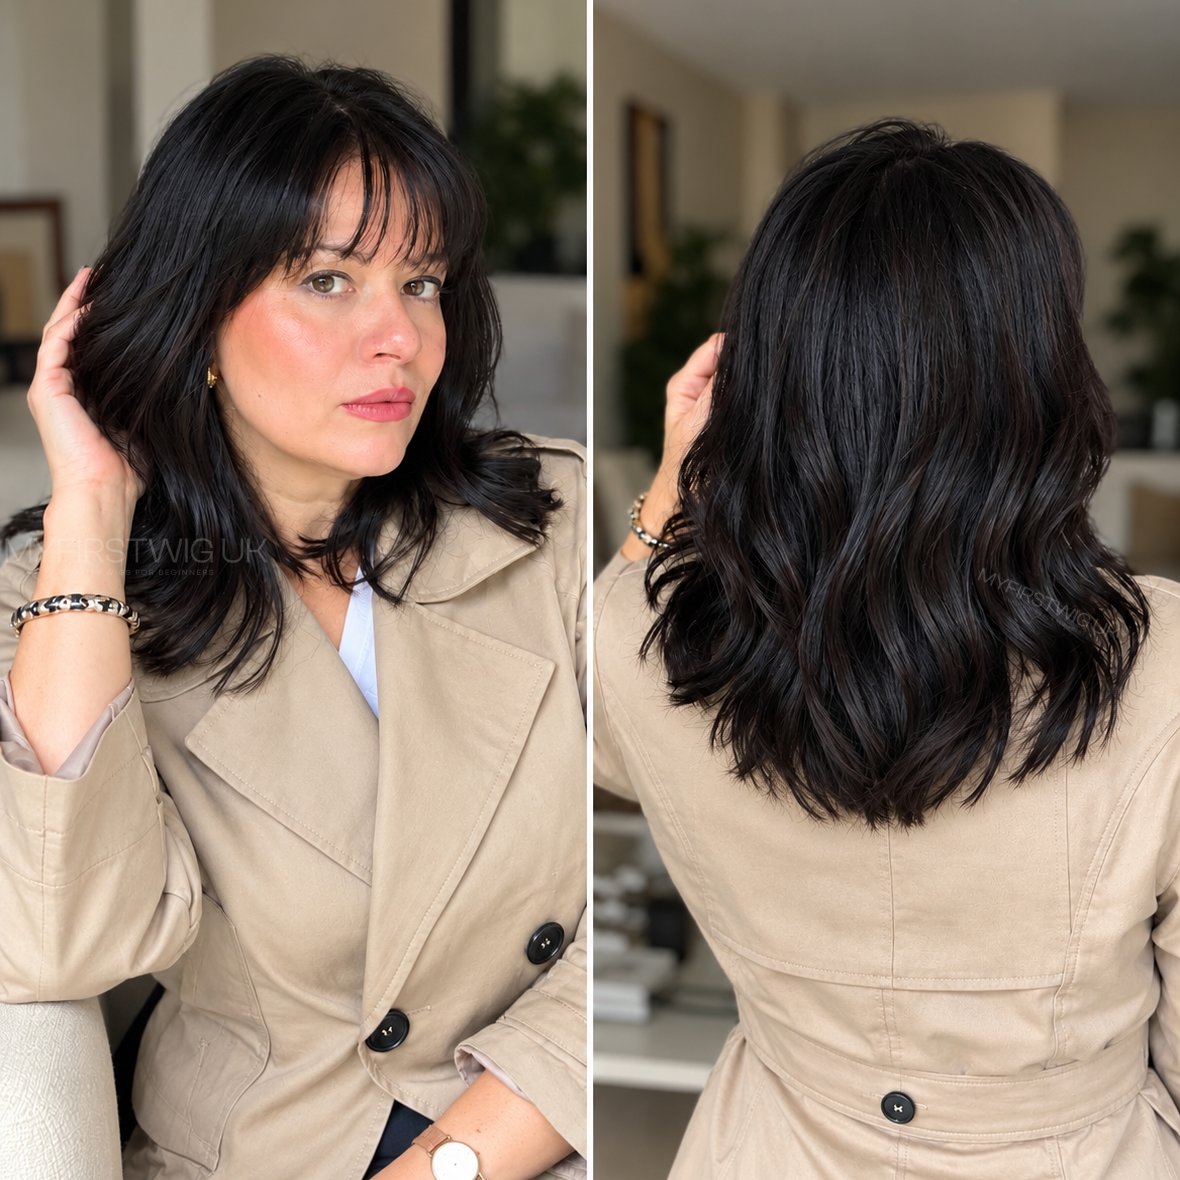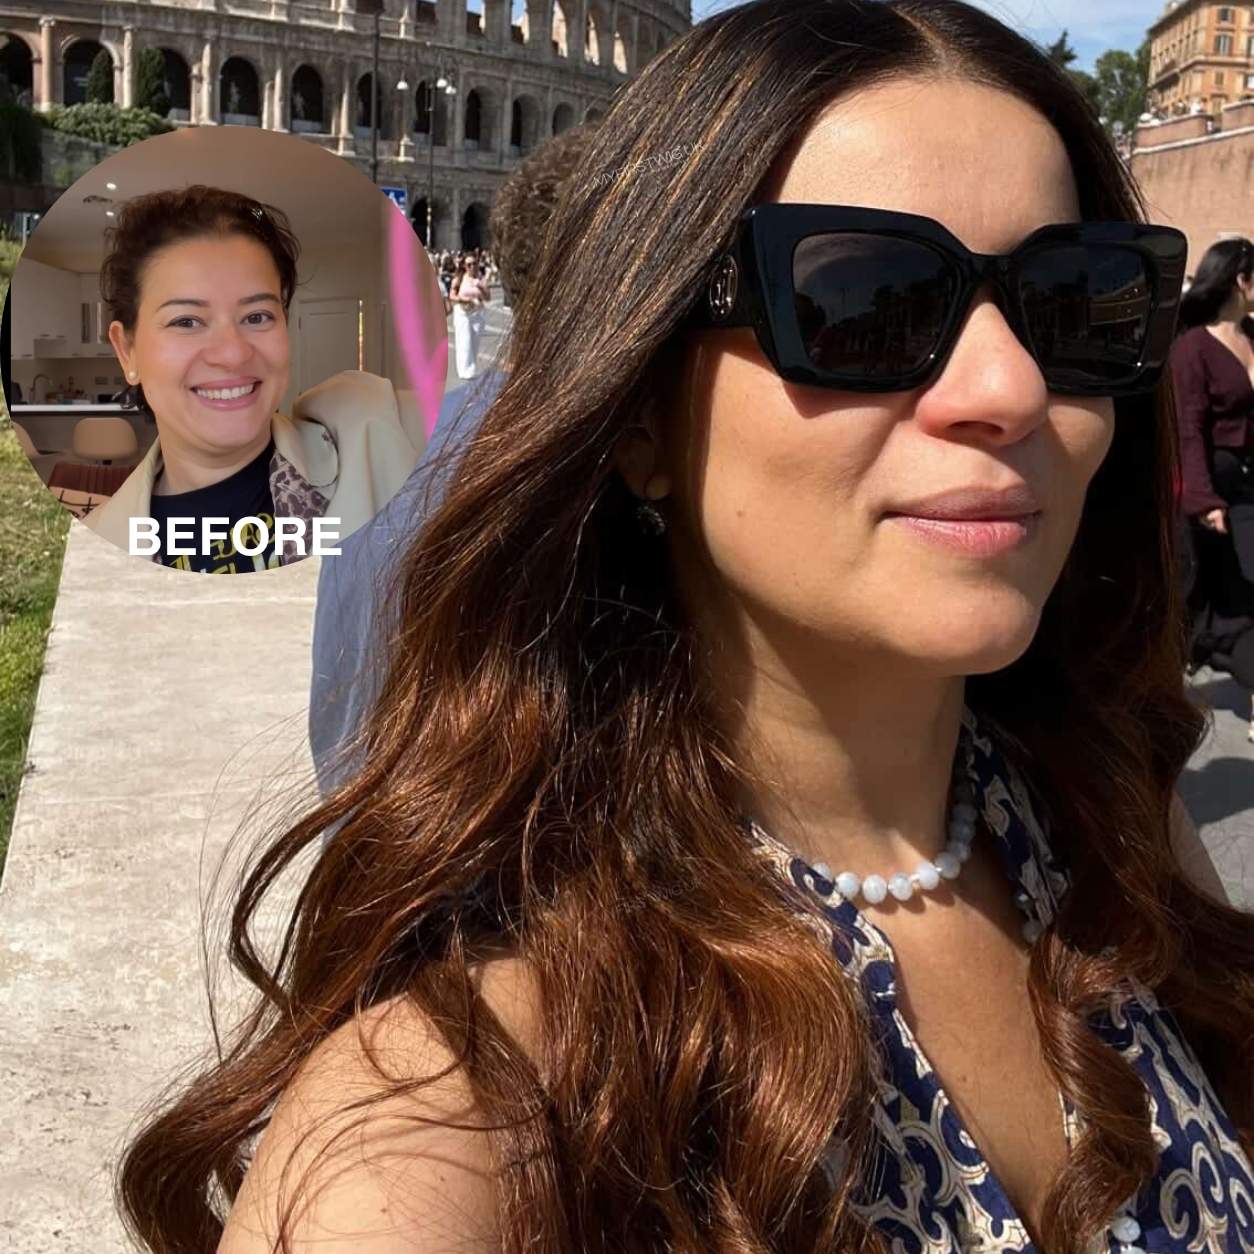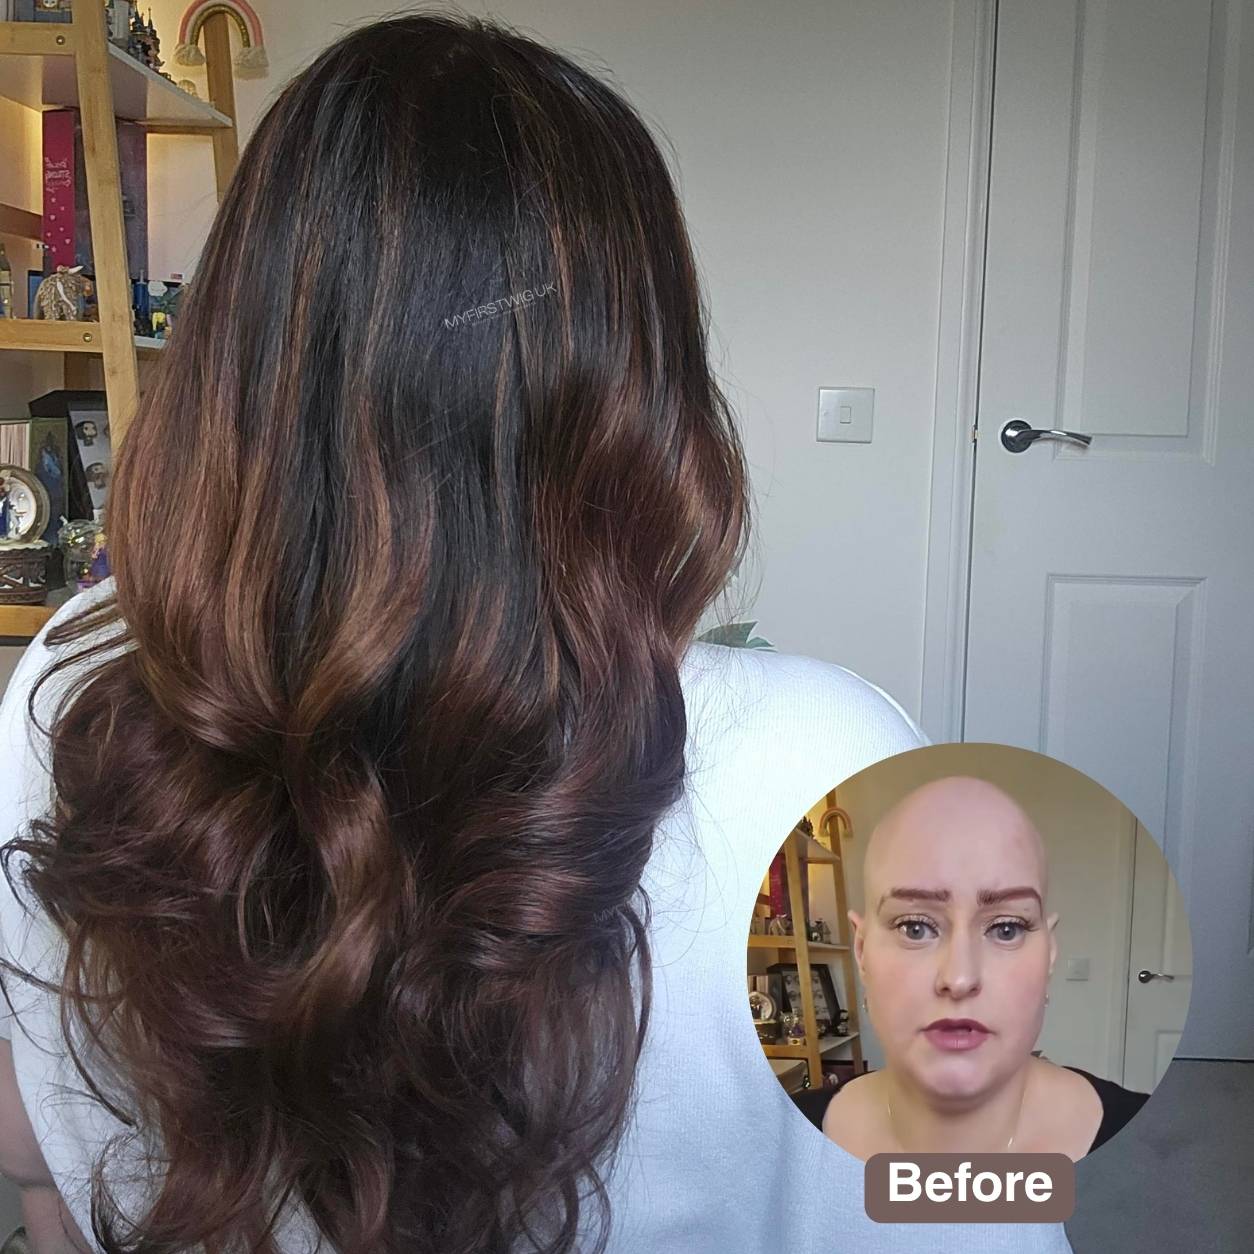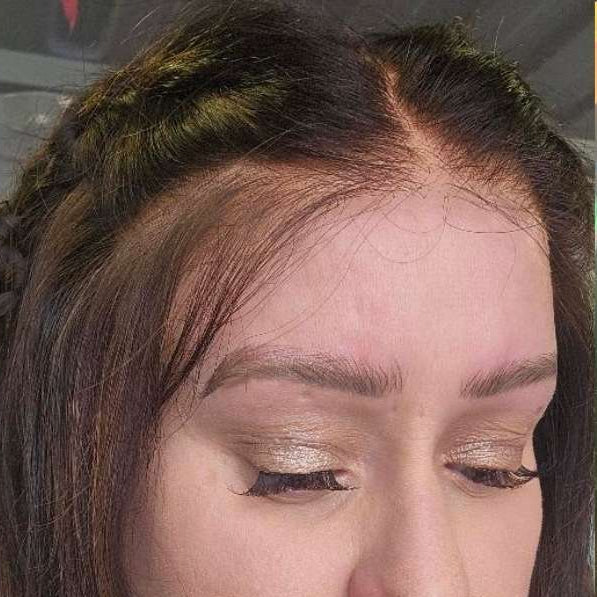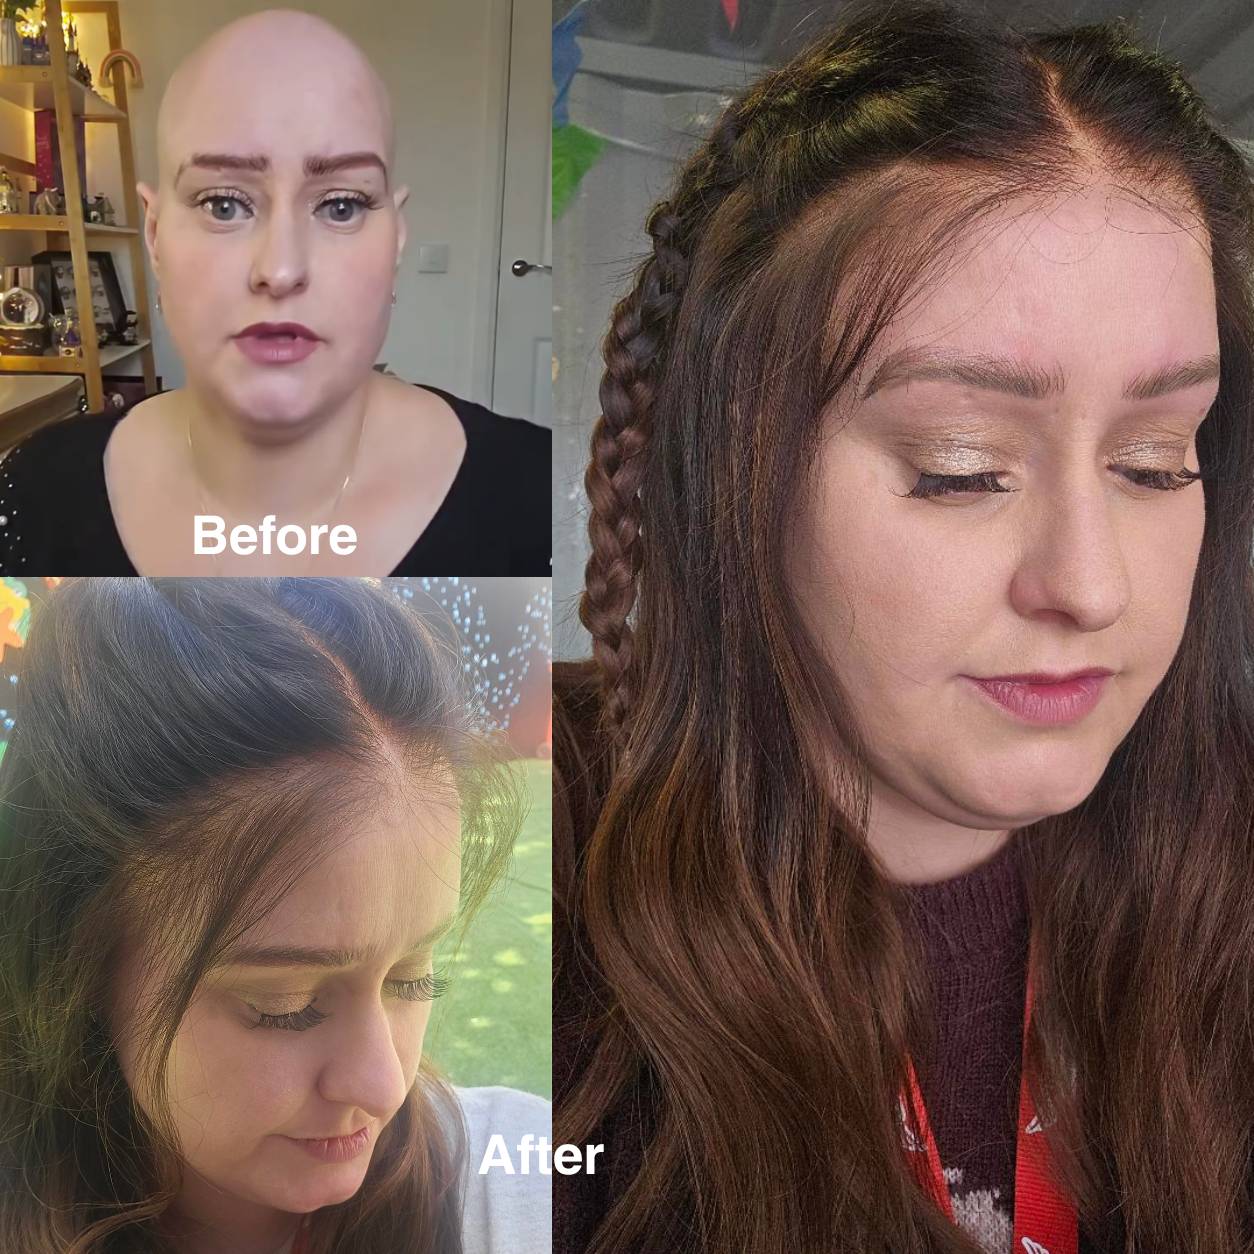

This step-by-step guide will walk you through the entire process, from preparing your natural hair to the final styling touches. Remember, practice makes perfect!
Step 1: Preparing Your Natural Hair
A smooth, flat base is crucial for a natural-looking fit.
Braiding or Flattening
If you have longer hair, braid it into cornrows that lie flat against your head. For shorter hair, simply flatten it with a wig cap. Those with very short hair can even skip braiding altogether.
The Wig Cap
Slide a wig cap that matches your scalp tone over your braided or flattened hair. You can use bobby pins at the edges for extra security if needed.
Step 2: Prepping Your Wig
Before putting the wig on, it needs a little preparation.
Cutting the Lace
- If you'd prefer not to do it yourself, Myfirstwig offers a Pre-cut Lace Service.
- Use small, sharp scissors (such as cuticle or thread scissors) for precision. Make small snips along the lace, following the natural curve of the hairline.
- Leave a small amount of lace (approximately ¼ inch or less). Cutting too close can cause the lace to fray and unravel.

Styling (Before or After Putting On)
It's easier to style the wig on a mannequin head before putting it on. View Wig Styling Guide »
Step 3: Putting the Wig On
The key is achieving a secure, comfortable fit.
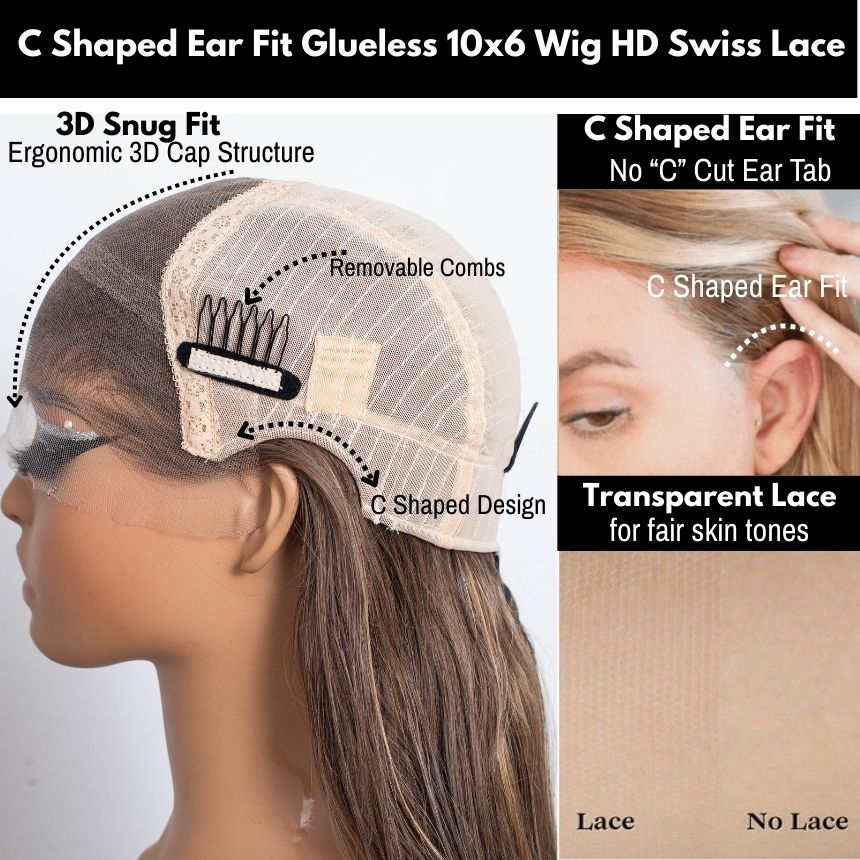
- Hold the wig by its ear tabs with the hairline facing forwards.
- Tilt your head slightly forwards and place the front of the wig (where the lace is) onto the middle of your forehead, just above your natural eyebrows.
- Gently slide the wig backwards onto your head. This motion helps ensure your natural hair underneath stays flat.
- Once the wig is seated, use the ear tabs to align it perfectly. The tabs should be centred directly in front of your ears.
Step 4: Securing and Blending
The method you choose depends on whether you want a semi-permanent or daily-wear solution.
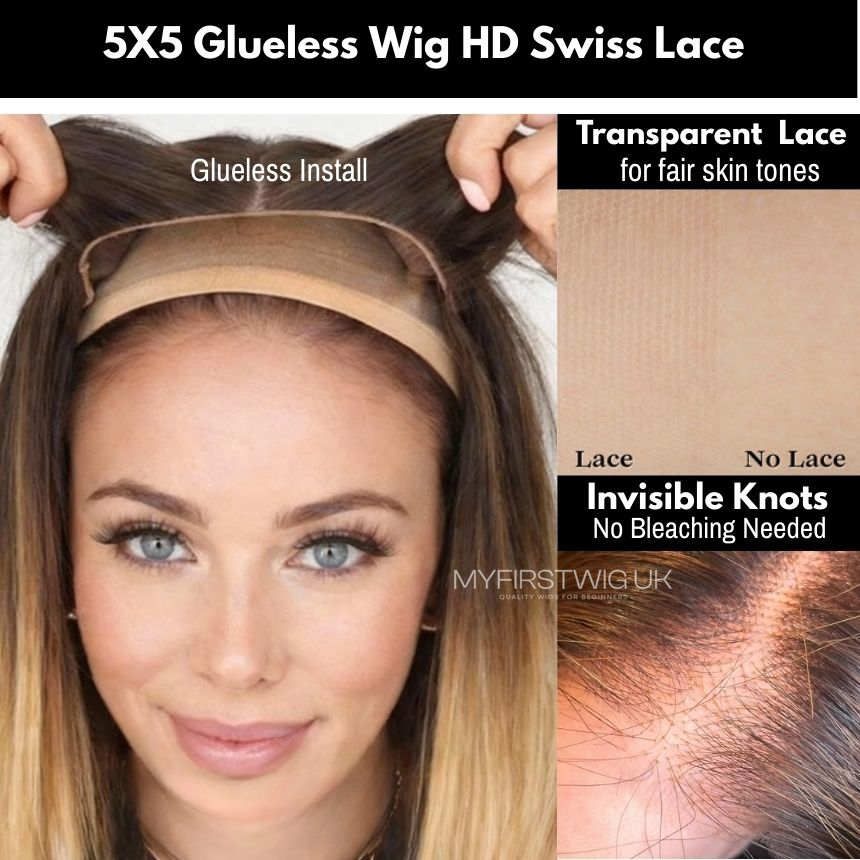
Glueless Method (For Daily Wear & Easy Removal)
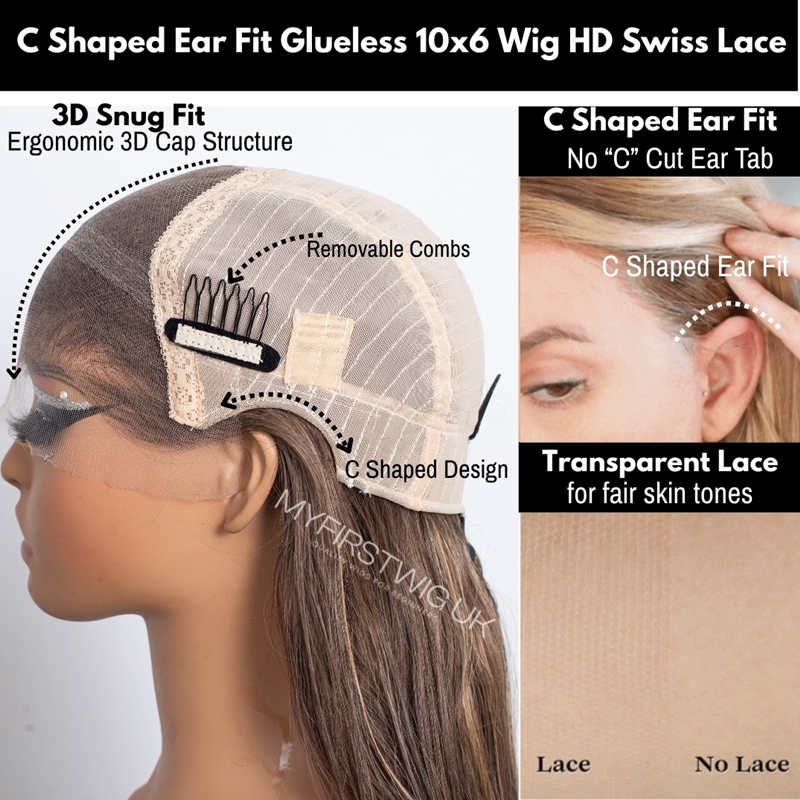
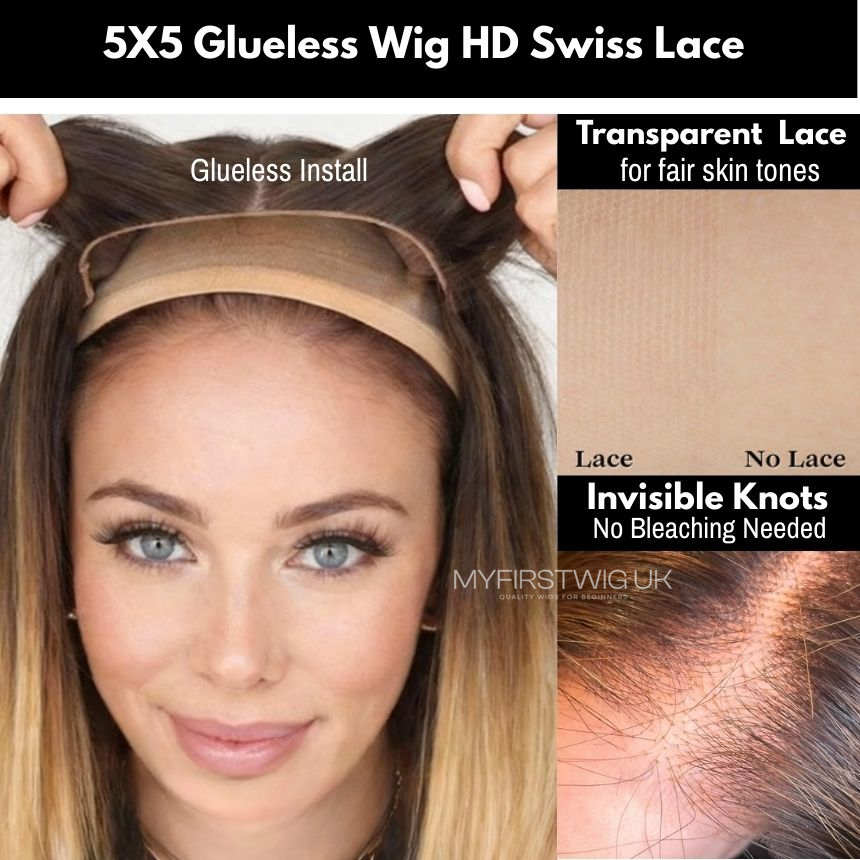
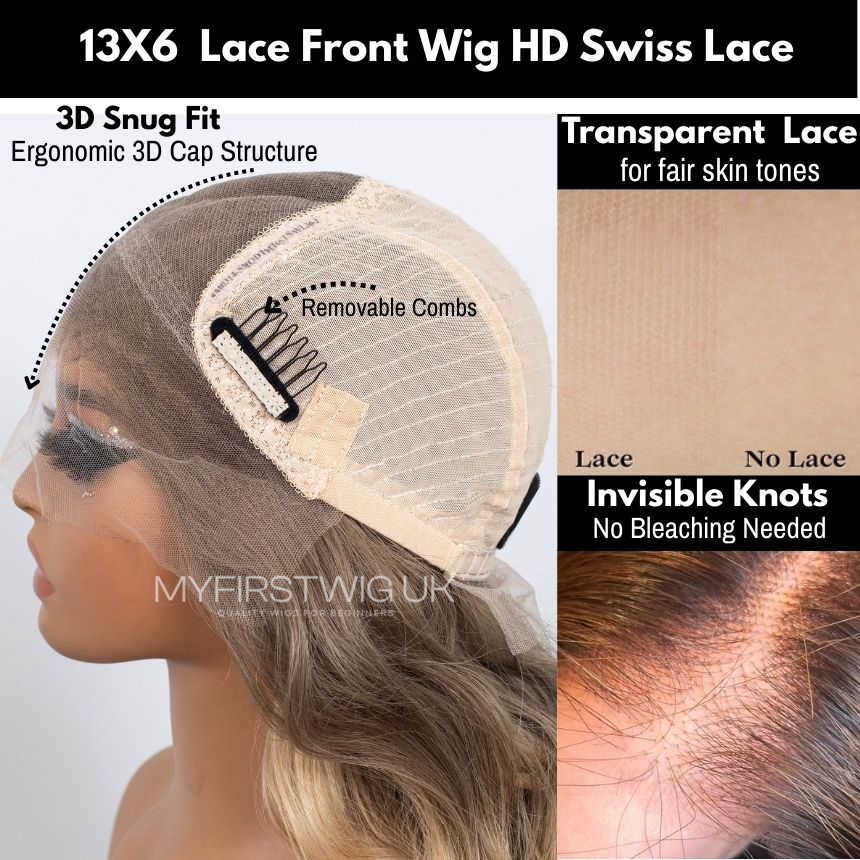
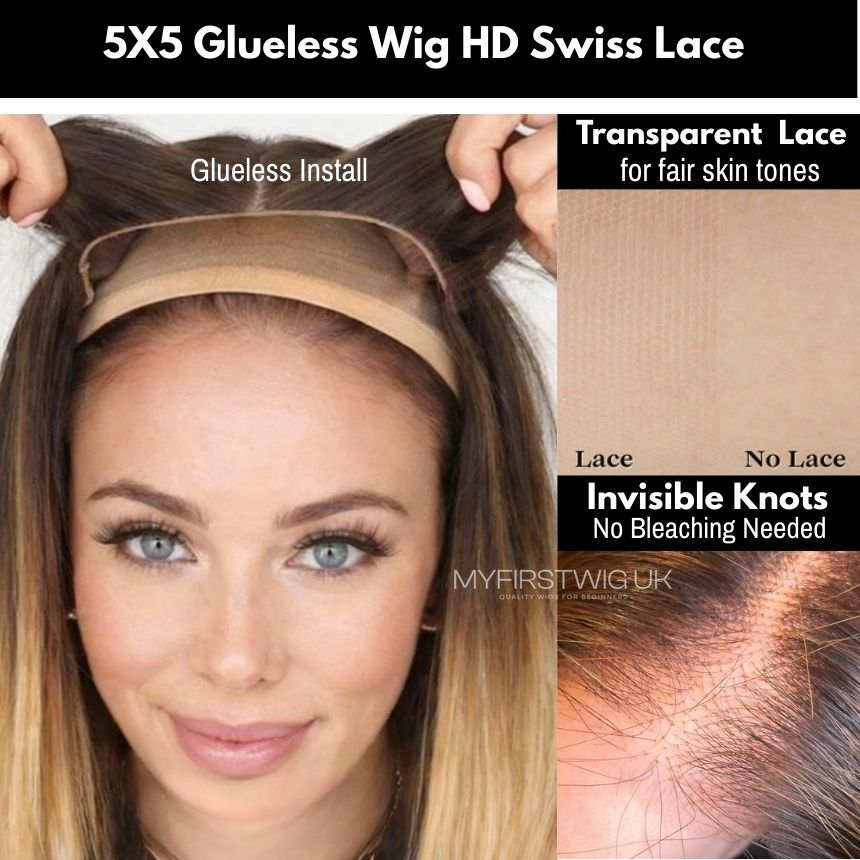
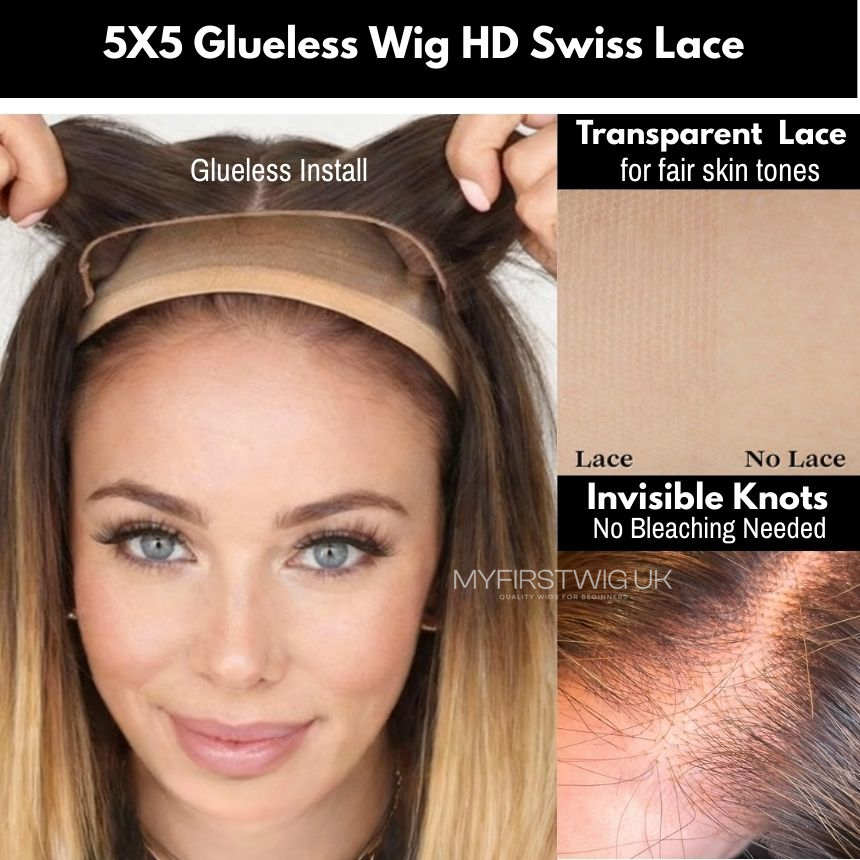
Press the inside combs into your wig cap or braids, and tighten the adjustable straps and elastic band at the back. For even smoother lace blending, apply a little mousse to help the lace lie flat against your scalp.
Glue Method (For Maximum Security & Invisible Hairline)
For a lighter, easier-to-remove hold, use spray adhesive or a few dots of glue along your forehead. After applying, press the lace gently against your skin with a silk or satin scarf for a few minutes, then remove the scarf.
Having Problems with Ear Tabs?
With larger lace areas (such as 13x6 wigs), the lace near your ear tabs can sometimes lift. Here are a few easy fixes:

- Method #1 – Simple Blend: Pull out a few strands of hair from the wig around your face to cover and weigh down the temple area.
- Method #2 – Trimming: If the pointed ear tab lace feels too bulky to lie flat, you can carefully trim it for a better fit. Only do this once the wig is securely on your head.
- Method #3 – Holding Spray: A light mist of holding spray under the lace at the temples can provide just enough hold to keep it down.
Step 5: The Final Touches
Blend with Your Skin
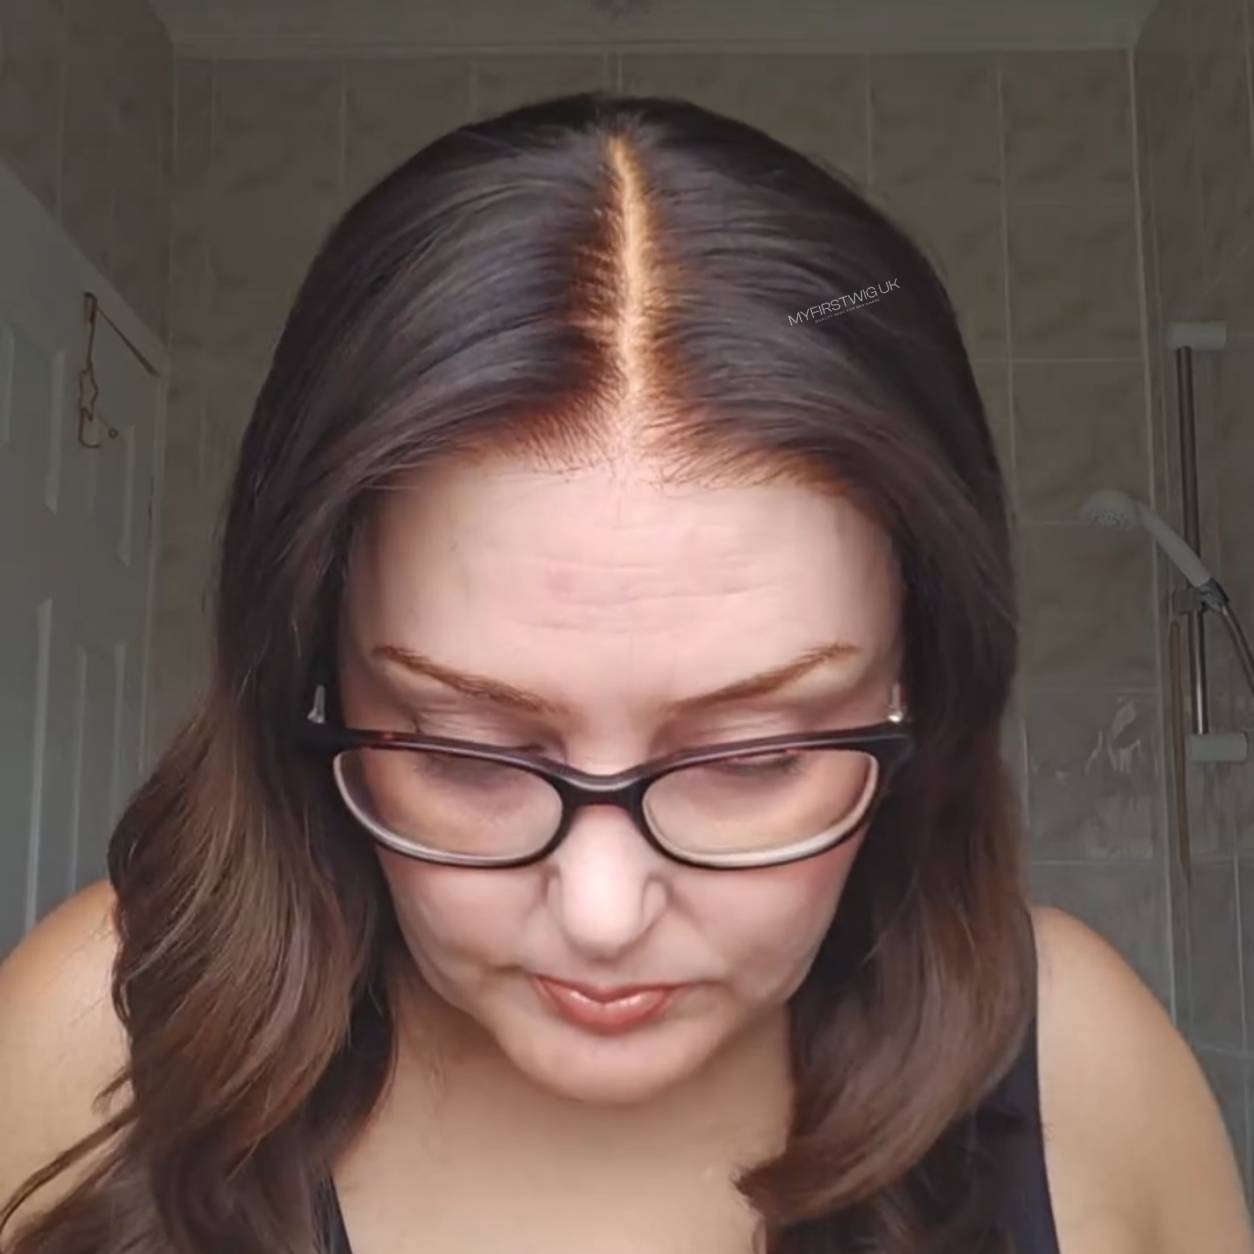
Lightly dust some translucent powder or foundation along the hairline to mattify the lace and help it blend seamlessly with your skin.
Enjoy your Myfirstwig wig journey!
View More Hairstyles

Straight Hair Collection SHOP NOW ▶ |

Wavy Hair Collection SHOP NOW ▶ |

Bouncy Curly Collection SHOP NOW ▶ |